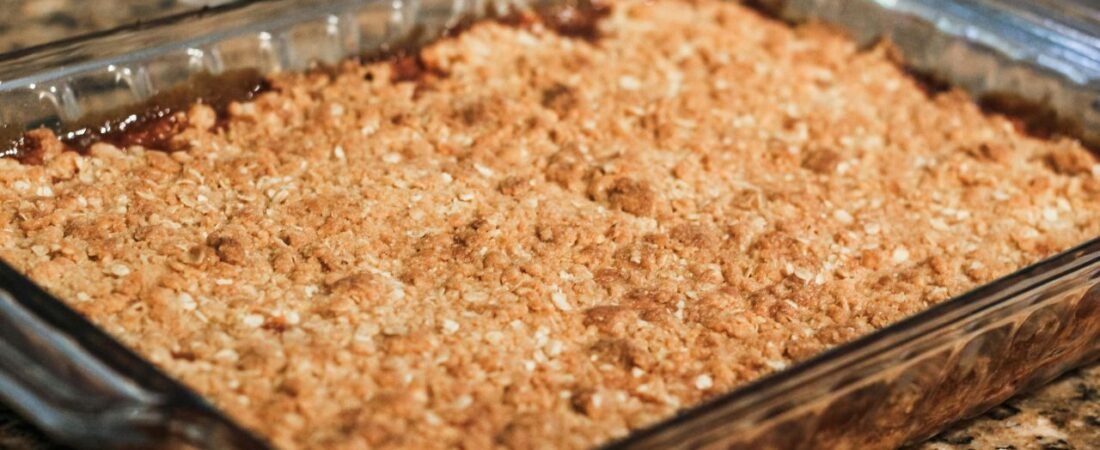
It was 4:40 on a Sunday, and I was standing there holding a 9-inch square dish of sliced apples with the oven preheated to 350°F, when I reached for the oat canister. Empty. Just one tiny oat clinging to the inside of the lid. I stood there like the canister might refill itself for a whole minute.
When testing, I found most recipes insisted you do not skip the oats. That night I decided to make them optional and I got so obsessed, I baked three pans over the next two weekends, only changing the topping. Same apples, same everything else, same oven. I ate a ton of apple crisp. My neighbor had the rest.
The Rules I’ve Established
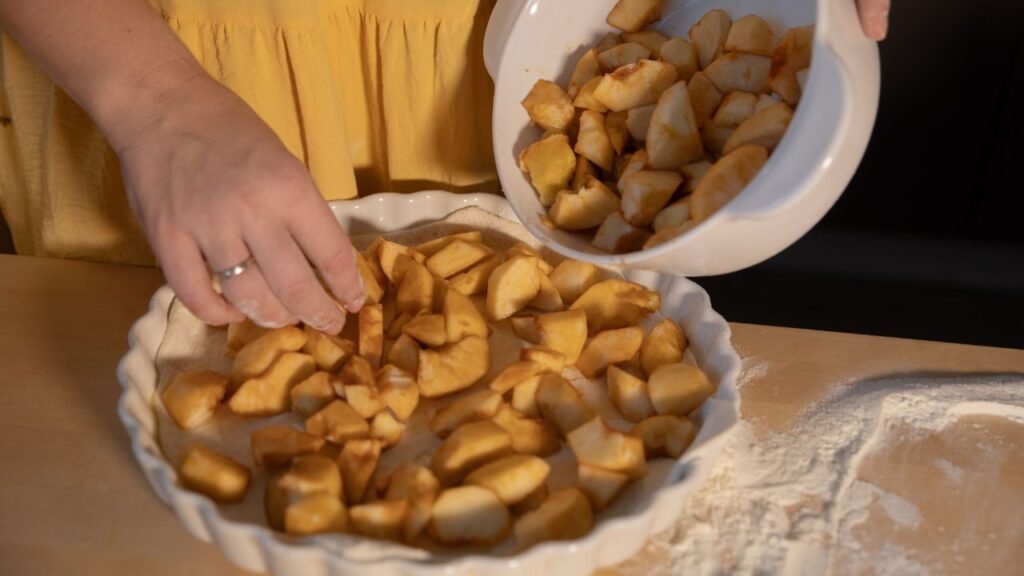
All pans were filled with exactly the same thing:
- 5 medium Granny Smith apples, peeled and cut into 1/4″ slices
- 1/4 cup sugar
- 1 tablespoon lemon juice
- 1 tablespoon cornstarch
- 1 teaspoon cinnamon
- A pinch of salt
It all went into the same ceramic baking dish (9″ square), placed in the center of the oven on the middle rack, with a half sheet pan on the rack below. The first splash of apple juice hitting a hot oven floor will stay with you for the next week.
Only the topping changed. These are the three things I considered for each:
- How crispy it was after 20 minutes of cooling
- What the apples under the topping looked like
- Whether I found myself returning to the dish for a second helping without anyone guilt-tripping me into it
Now that’s a true test.
One more thing: my oven bakes about 25°F hot. I learned that the hard way and wrote about how I discovered it in how I found out my oven runs 25°F hot. Every temperature below is the actual temperature on my oven thermometer, so if your oven runs hot or cold, adjust accordingly. If you’ve never checked yours, this oven calibration guide shows you how.
I stuck with Granny Smith apples because they hold their shape. For more on which apples work best in the oven, Science Friday has a good guide to choosing apples for cooking.
Pan One: Traditional Crumble with Flour, Butter and Brown Sugar
Ingredients:
- 1 cup all-purpose flour
- 1/2 cup firmly packed brown sugar
- 2 tablespoons granulated sugar
- 1/2 teaspoon cinnamon
- 1/4 teaspoon salt
- 8 tablespoons (1 stick) cold unsalted butter, cut into small pieces
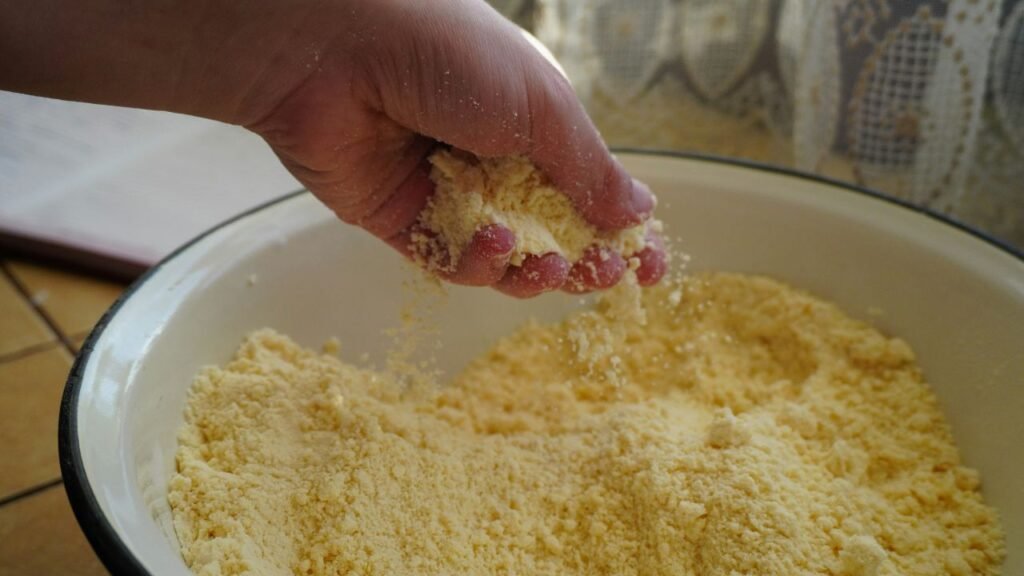
I cut the butter in with my fingers until it was the consistency of wet sand with some small pebbles of butter left in it, then pinched handfuls of it into clumps as I scattered it over the apples.
Bake at 350°F for 45 minutes, or until the top is a deep golden and the juices bubble up around the edges.
It was very, very good. It was crisp on top and slightly softer (and shortbread-y) at the apple edge, and the apples underneath kept their shape. The only negative was that some parts of the topping remained a little paler and drier than the edges. This was solved by mushing the lumps together more firmly in the next attempt.
This one is the control group, and it went above and beyond.
Pan Two: The Almond Flour Crumble
Ingredients:
- 1 cup almond flour
- 1/3 cup packed brown sugar
- 1/2 teaspoon cinnamon
- 1/4 teaspoon salt
- 5 tablespoons cold butter, cut into chunks
Same fingertip method. This looked much wetter and clumpier than the plain flour version, which was my first indication that I was going to have a problem.
I baked this at 350°F as well, because I’m a bit stubborn and figured it would do the same thing. It did not. After 25 minutes the edges were quite dark brown, while the middle was still basically white and a little soft, so I covered it with foil and baked for an additional 12 minutes. Total: 37 minutes.
Almond flour has so much more fat than wheat flour that it browns quickly and never really crisps up. To be honest, it tasted really delicious, like a toasted marzipan cookie. It just lacked the crunch. It sank into the apples slightly and was basically a cake layer by the next day.
If you like a softer, buttery topping, this is absolutely delicious. If you want crunch, this is not the one for you. I would also turn the oven down to 325°F and add 10 minutes if I made this again.
Pan Three: The Cookie Crumb Topping
Ingredients:
- 2 cups crushed shortbread cookies (roughly 10 cookies from a typical box)
- 4 tablespoons melted butter
- 1/4 teaspoon cinnamon
- No additional sugar
Just put the cookies in a zip bag and pound them with a rolling pin. Very therapeutic.
I baked this at 350°F for 35 minutes, and I want to be honest about what I saw, because I was fully prepared to call this the winner.
The top was getting browned at about 18 minutes, then it just sat there browning. By 30 minutes it was a dark, rich, close-to-bitter mahogany (because of the sugar and butter already baked into the cookies, and, hello, they shouldn’t be hanging out in the oven this long). I couldn’t even remove it early, because the apples beneath hadn’t quite softened yet. When I did pull it, the apples were still underdone and sitting in a watery pool, trapped under the dense, slightly burnt top.
It was also way too sweet. My husband took one bite, put his spoon down, and said “that’s a lot,” which is the kindest thing he has ever said about my cooking.
That would be the loser, not even close. If you really want a cookie topping, bake the apples for 20 minutes first, then add the cookie crumbs for the final 15 minutes. I’ve not tested that, so it’s a guess.
The Scoreboard
| Topping | Bake time | Crispness | Apples underneath | Went back for seconds? |
|---|---|---|---|---|
| Flour, butter, brown sugar | 45 min at 350°F | Crisp, slightly sandy center | Tender, held shape | Yes, twice |
| Almond flour | 37 min at 350°F (foil after 25) | Soft, never crisp | Tender | Once |
| Crushed shortbread | 35 min at 350°F | Hard, partly burnt | Watery, underdone | No |
The classic won without even trying. Not even close, which was kind of disappointing, because I was secretly hoping the almond flour would take it.
What I Learned From All Three Pans
- Cold butter is more important than the topping flavor. I once got lazy and let my butter stand on the counter for 30 minutes before I finished mixing, and the topping baked as one large greasy sheet instead of a thousand little chunks. I had the same trouble with cookie dough, which I covered in why my cookies end up flat every time. Same reason, different treat.
- Granny Smith apples are worth it. I made one pan with Honeycrisp, and it was much sweeter and softer (not bad), but it needed less sugar and the slices got gooey and brown around the edges.
- The sheet pan below is not just for show. A good 3 tablespoons of bubbled-over juice landed in the sheet pan after the very first bake.
Recipe Card: Oat-Free Apple Crisp (the Winner)
Prep time: 25 min | Bake time: 45 min | Serves: 6 | Pan: 9-inch square baking dish
Filling
- 5 medium Granny Smith apples (about 1 3/4 pounds), peeled, cored, and cut into 1/4-inch slices
- 1/4 cup granulated sugar
- 1 tablespoon lemon juice
- 1 tablespoon cornstarch
- 1 teaspoon ground cinnamon
- Pinch of salt
Topping
- 1 cup all-purpose flour
- 1/2 cup packed brown sugar
- 2 tablespoons granulated sugar
- 1/2 teaspoon ground cinnamon
- 1/4 teaspoon salt
- 8 tablespoons (1 stick) cold butter, cubed
Directions
- Preheat the oven to 350°F (or 325°F if you are aware your oven is hot). Place a sheet pan in the lower third of the oven.
- Combine the apples, sugar, lemon juice, cornstarch, cinnamon and salt together in a large bowl. Then pour into the baking dish. Spread out evenly.
- In a separate bowl, mix the flour, both sugars, cinnamon, and salt. Cut in the cold butter with your fingertips until the mixture resembles wet sand with a few pea-sized lumps.
- Squeeze handfuls of the topping and make them into rough clumps. Scatter the topping over the apples, pressing down gently so the topping contacts the fruit.
- Place the baking dish on the middle rack and bake for 45 minutes, until the topping is deep golden and the juices are bubbling at the sides of the dish.
- Cool for at least 20 minutes before serving. It sets as it cools.
Notes: Serve warm with vanilla ice cream. If at the 35 minute point the middle of the topping appears pale, rotate the dish.
A Few Questions I Kept Getting
Can I use canned apple pie filling?
Sure, but I’d think of it as a different dessert. One can (21 oz) fits in a 9-inch square dish, and you don’t need the sugar, lemon, or cornstarch, since they’re already in the filling. The apples may be a little softer and have more sugar in them, and the topping will brown a little quicker, so check it at 30 minutes.
What size pan do I need?
A 9-inch square dish, or an 8-inch square if you don’t mind a deeper, taller crisp. For a 9×13 pan, double everything and add about 10 minutes of baking time. A round 9-inch pie plate works too, though the topping layer ends up slightly thicker.
How long can I store leftovers?
Tightly cover the dish and refrigerate for up to 4 days, which lines up with the usual guidance on refrigerated leftovers that Mayo Clinic explains here. To re-crisp, rewarm a portion on a baking sheet at 325°F for 15 minutes. Yes, the microwave gets the job done, but the topping gets soft. I only do that if I’m feeling very unmotivated.
The Last Spoonful
By the way, the oat container is full again. Bought two. I haven’t returned to the oat version, and I’m not quite sure I will, because the plain flour and brown sugar style was a little cleaner, slightly more buttery, and a great deal easier to get right.
The almond flour pan is the one I’d still like to try again at a much lower temperature, for the nutty flavor. The cookie pan? I’m not talking about the cookie pan anymore.